
A TV mounted on the wall has several benefits that can enhance your living area greatly. It not only maintains important floor space, providing your room a more open and structured sense, but it additionally improves the overall beauty of your home. Any room may be transformed into a stylish entertainment area with the sleek, modern appearance that a wall-mounted TV gives to the decor.
In addition, wall mounting offers you a greater ability to arrange your TV to provide the best available comfort and viewing angle at the perfect height and angle. This article offers a detailed instructions guide to help you in selecting and putting in TV mounts. We’ll provide you all the information you need to complete a project, whether you’re a do-it-yourselfer or seeking assistance from a professional.
1. Understanding TV Mount Types
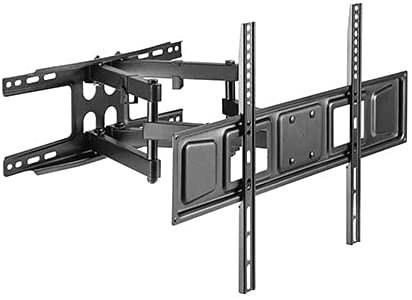
It’s important to know that there are three main types of TV mounts: full-motion, tilting, and fixed. Having a low-profile design that’s perfect for spaces where you often view from a single position, fixed mounts offer a fashionable, space-saving solution for placing your TV flush against the wall.
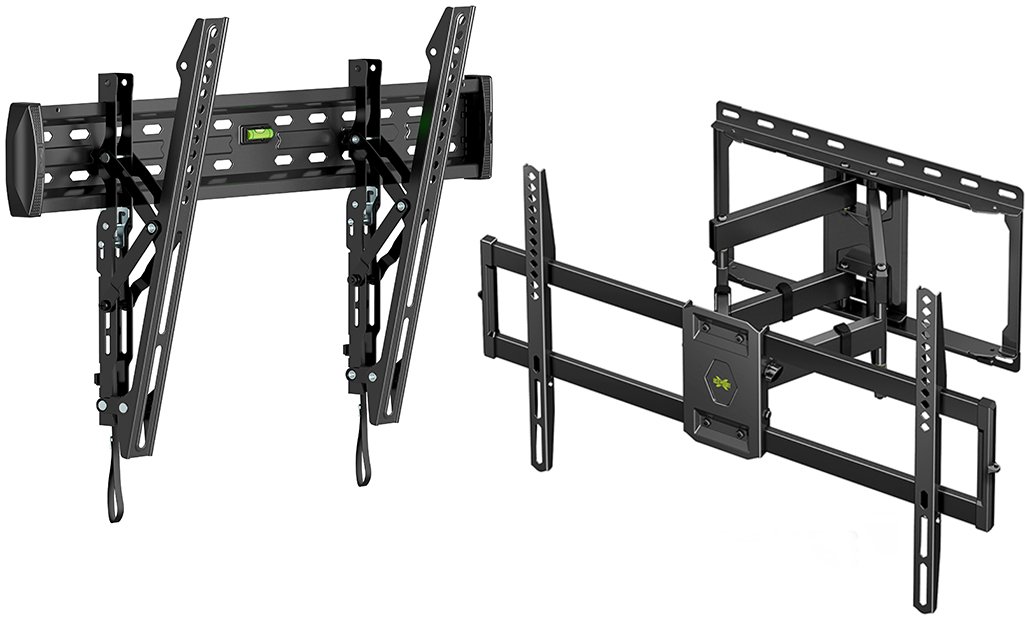
Since tilting mounts allow for upward adjustment, they are perfect for mounting TVs higher above eye level in order to reduce glare and increase viewing angles. Last but not the least, full-motion mounts provide the most flexibility. They allow you to extend, swivel, and tilt the TV to suit various viewing angles, which makes them perfect for rooms with lots of furniture or larger spaces. Think about the arrangement of the room, how you want to seat others, and how often you need to change the TV’s position for the best watching experience.
2. Measuring and Preparing for Installation
To make sure the TV will fit accurately, measure the wall and the TV before starting the installation procedure. Evaluate your TV’s width, height, and the quantity of wall space that is available in order to make sure the TV and the mount have enough space.
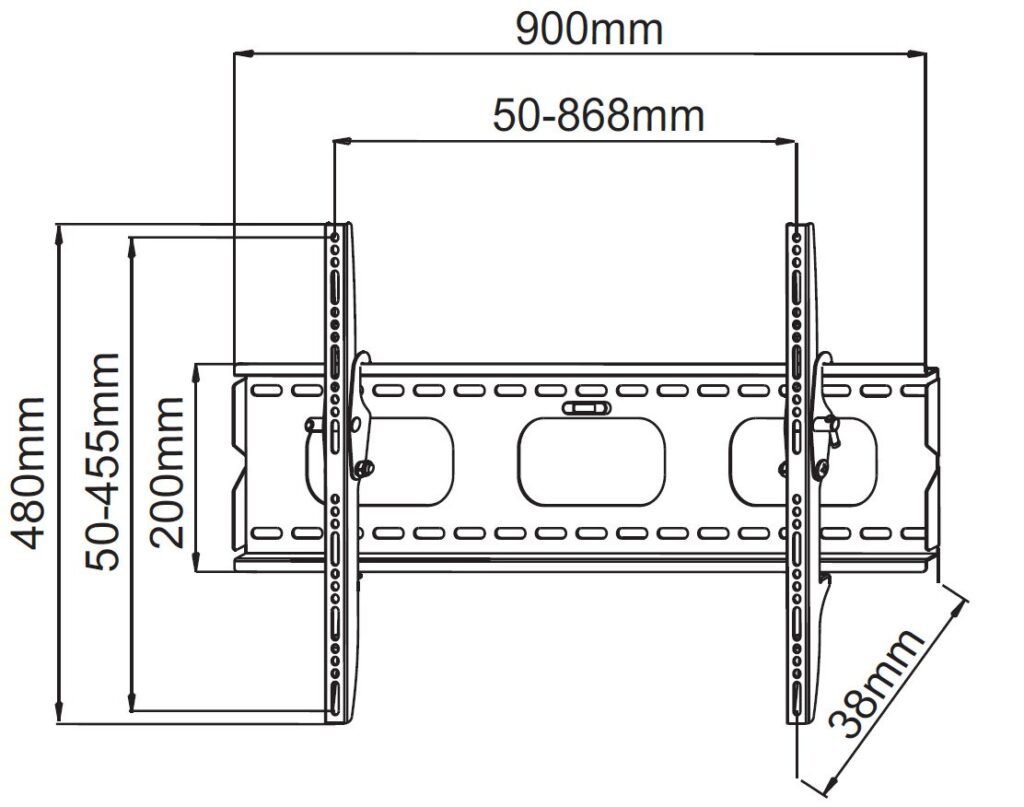
Select the best mounting height next; this is generally at eye level for comfortable viewing when seated. As a consequence, neck strain decreased and the viewing experience improved overall. Additionally, gather the tools you need for a good installation, such as a drill to attach the brackets and mount, a level to ensure a straight mount, and a stud finder to find the strongest places on the wall. Proper setup with these steps ensures a smooth and safe installation.
3. Finding the Right Location on the Wall
To ensure an enjoyable and useful arrangement, there are a few things to take into consideration when choosing where to wall mount your TV. To start with, stay away from direct sunlight since this may cause glare or decrease screen visibility. Instead, choose an area with controlled lighting.
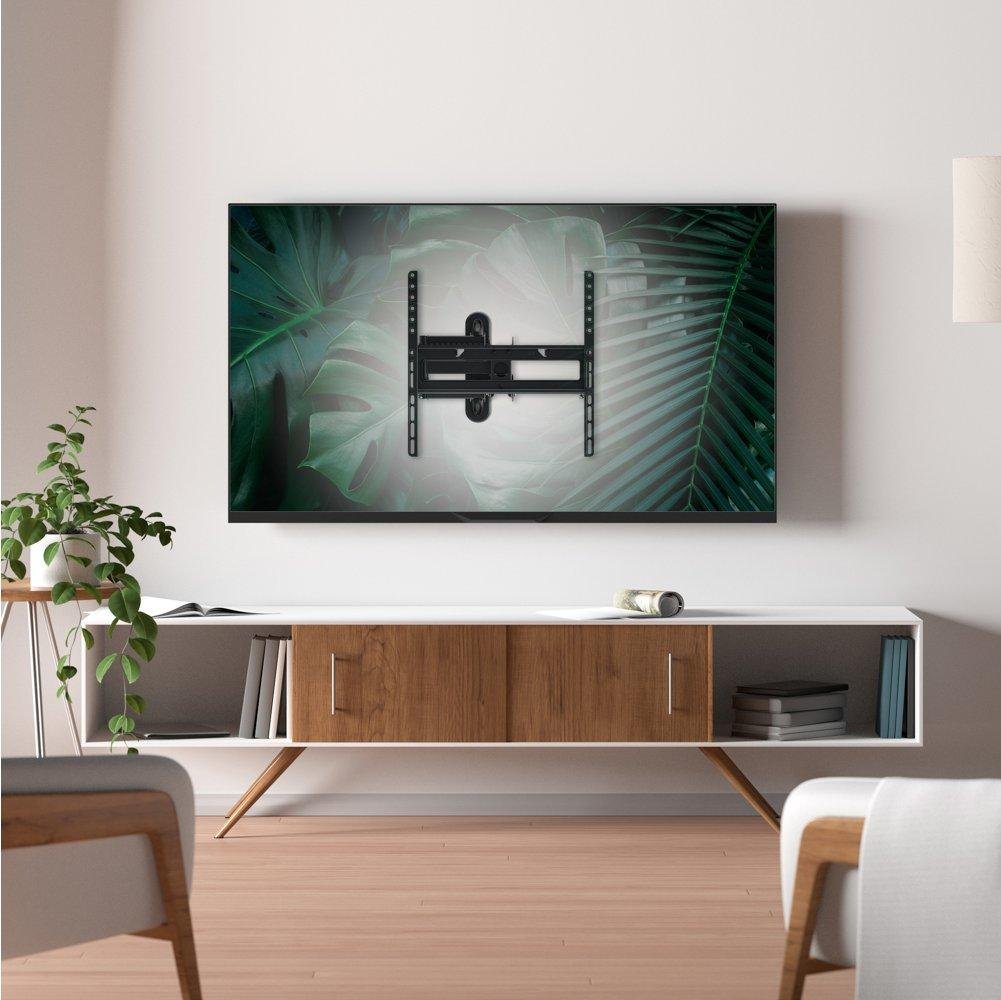
Think about how the furniture is placed in the room and make sure that the seats face the TV for the best possible viewing environment. To further reduce the discomfort of long or visible wires, look for nearby access to power sources and cable connections. Placing the TV securely involves mounting it on wall studs, which are the strong vertical beams inside the wall that maintain the weight of the TV. Locating them involves the use of a stud finder, which must be used to keep the TV securely in place.
4. Installing the TV Mount
Take these clear directions to mount your TV properly on a wall before starting the installation process. First, mark the desired spot on the wall, making sure it is in line with the centre of your seating area, with a measuring tape and level. Next, find the wall studs using a stud finder; they are important in supporting the weight of the TV.
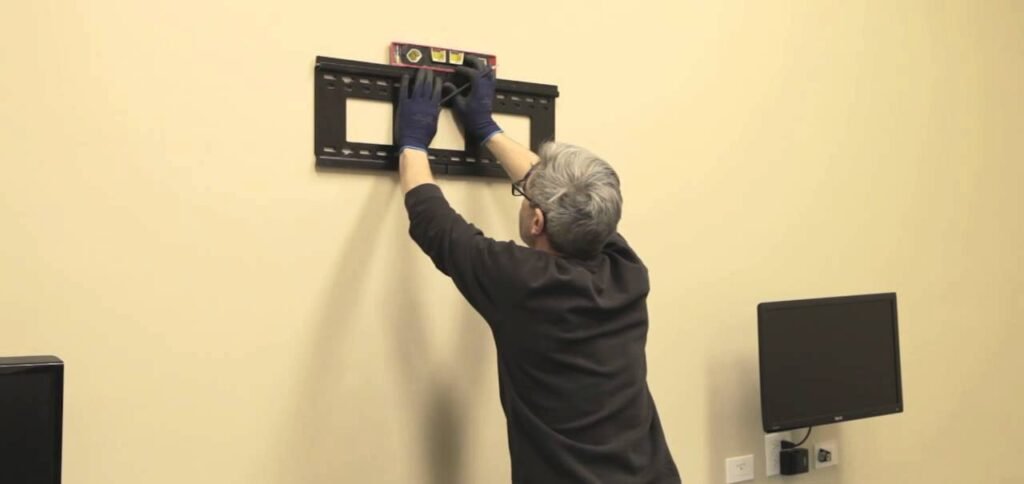
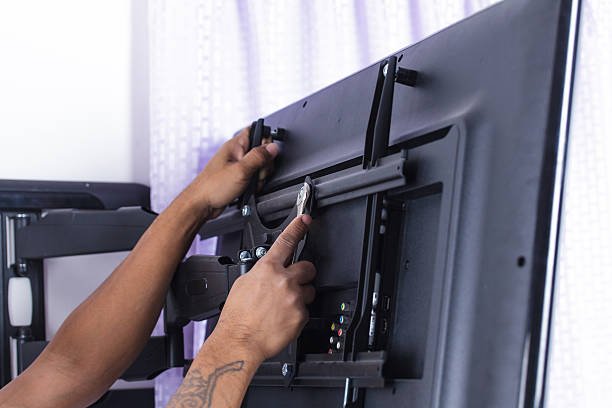
Drill pilot holes into the studs after marking them, then use heavy screws to secure the mount to the wall. Check that the mount is absolutely level using a spirit level before tightening the screws. This ensures a straight hang for your TV. To maintain safety and prevent mishaps or harm, always wear protective eyewear whenever drilling as well as make sure someone is there to help with placing the TV onto the mount.
5. Connecting Cables and Managing Wires
Installing your cables—such as HDMI, power, and any other necessary inputs—comes next after you’ve securely mounted your TV. Before fully attaching the TV to the mount, check that all of the wiring is connected to avoid having to remove the TV later. Make cable management a top concern for a neat and well-organised setup.
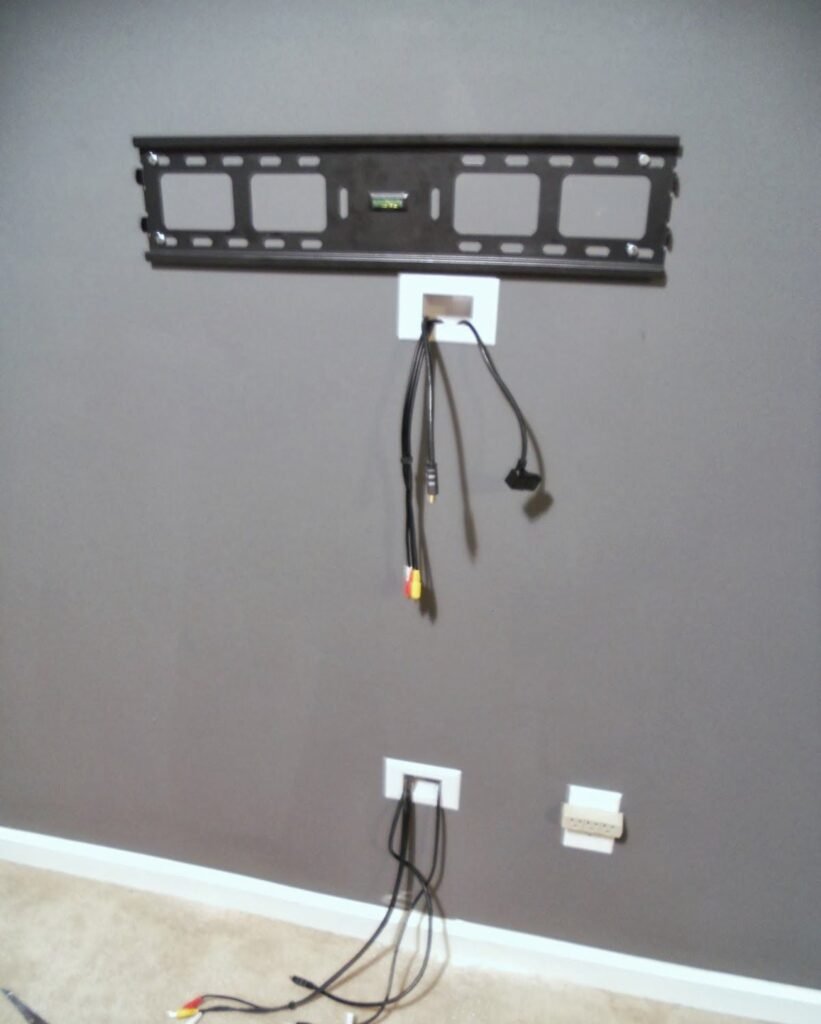
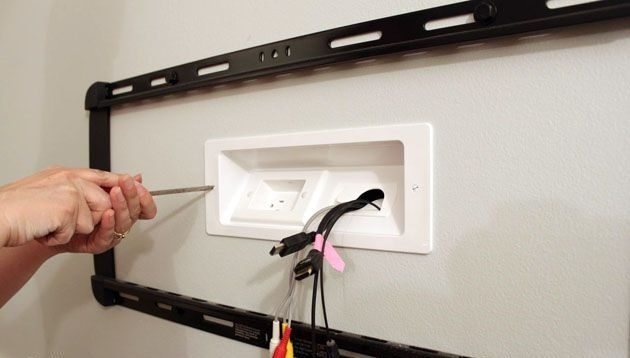
To start, prevent tangling the cables by first bundling them together with cable clips or zip ties. Add wall-mounted cable covers to merge them into the style of the area for a cleaner appearance. As an alternative, you can settle for in-wall cable management solutions, which completely cover the wires for a modern, finished look. By keeping wires out of the path, proper cable management improves safety in addition to enhancing appearance.
6. Testing and Adjusting the Setup
Test the structural integrity of the mounted TV once your TV installation has been completed to make sure it is securely in place. To ensure that the mount is capable of supporting the weight and is securely attached to the wall studs, gently press on it. Once stability has been set up, turn on the TV and evaluate the viewing angles.
Adjust if needed to provide the best possible picture quality, glare reducing, and a comfortable watching experience from your seating area. This is particularly essential for tilting or full-motion arrangements. To guarantee safety and ongoing optimal performance, check the balance of the mount on a regular basis, particularly after making any changes.
Conclusion:
In conclusion, whether you select a fixed, tilting, or full-motion mount according to your room’s layout and preferences, selecting the correct TV mount is important for establishing a pleasant and productive viewing experience. A proper installation involves centering the mount for stability, taking exact measurements, and drilling securely into wall studs.
For a neat and organised appearance after mounting, it’s essential to manage your cables using items like cable covers or in-wall management. A safe, secure, and effective installation that will enhance your viewing experience for years to come can be obtained by taking your time throughout the whole procedure, from choosing the ideal mount to testing the entire system.